Generating an Open Graph Image
When a link to our website is shared, an automatically generated image should be displayed in the preview. We use my Kirby plugin for this.

When we share our blog posts, notes, or other pages on Mastodon, Bluesky, or elsewhere, these posts should look good. It’s nice to have an image displayed in the preview. This is possible using specific meta tags. However, we don’t always have an image ready for every page we want to share. In such cases, we can automatically generate an image.
The plugin allows us to implement various scenarios. Essentially, we want to cover three cases:
- We already have a graphic to use when sharing.
- We don’t have a graphic, so a new one should be created.
- We have a graphic, but it should be incorporated into a newly created image.
The first case is straightforward: we already have an image and want to use it without changes.
The other two cases are slightly more complex. If no graphic is available, a new image should be created and used as-is. In the third case, we have a post image, but we don’t want to use it directly as the sharing image—instead, it should be enhanced with additional information.
All these cases will be handled using the OG Image plugin.
Installing the Plugin
The OG Image plugin can be installed like any other Kirby plugin. I recommend using Composer for installation because it makes updates easy without requiring us to check for them manually. To install the plugin, navigate to your website directory in the command line and run the following command:
composer require mauricerenck/ogimageIf you don’t want to use Composer, you can download a ZIP file here and extract it into your website directory under site/plugins1, creating an ogimage folder.
The plugin is now ready to use and can be configured. However, we’ll need a few things first.
Preparations
The plugin requires two files to function:
- A graphic template in PNG format
- A TrueType font
The template can theoretically be any size, but an image size of 1600x930 pixels is recommended. This is also the plugin's default setting. So first, create an image of this size. Here’s what mine looks like:

As you can see, I opted for a simple colored background. At the bottom, I show the website URL, and on the right side, I’ve cut out a transparent circle. I’ll explain why I did this later.
I also grabbed the font I use on my website.
Both files are placed in the assets/og-image directory. We’ll reference them in the configuration shortly.
Using the Template
Now let’s configure the plugin, which currently doesn’t know about our template or font.
Open Kirby’s configuration file located at site/config/config.php2.
Add a new configuration for the plugin and specify the path to the graphic template:
"mauricerenck.ogimage" => [
    "image.template" => "assets/og-image/template.png",
],
As you can see, this is a relative path, always starting from the document root of your Kirby site.
All future options will go within "mauricerenck.ogimage" => [ … ].
Setting the Title
Next, we configure the text. The OG image should display the page title in the chosen font. Start by specifying the path to the font file, just like we did for the template:
"font.path" => "assets/my-webfont.ttf",At this point, you can already generate the image. Access a post in your browser and append /og-image to the URL to see the new image:
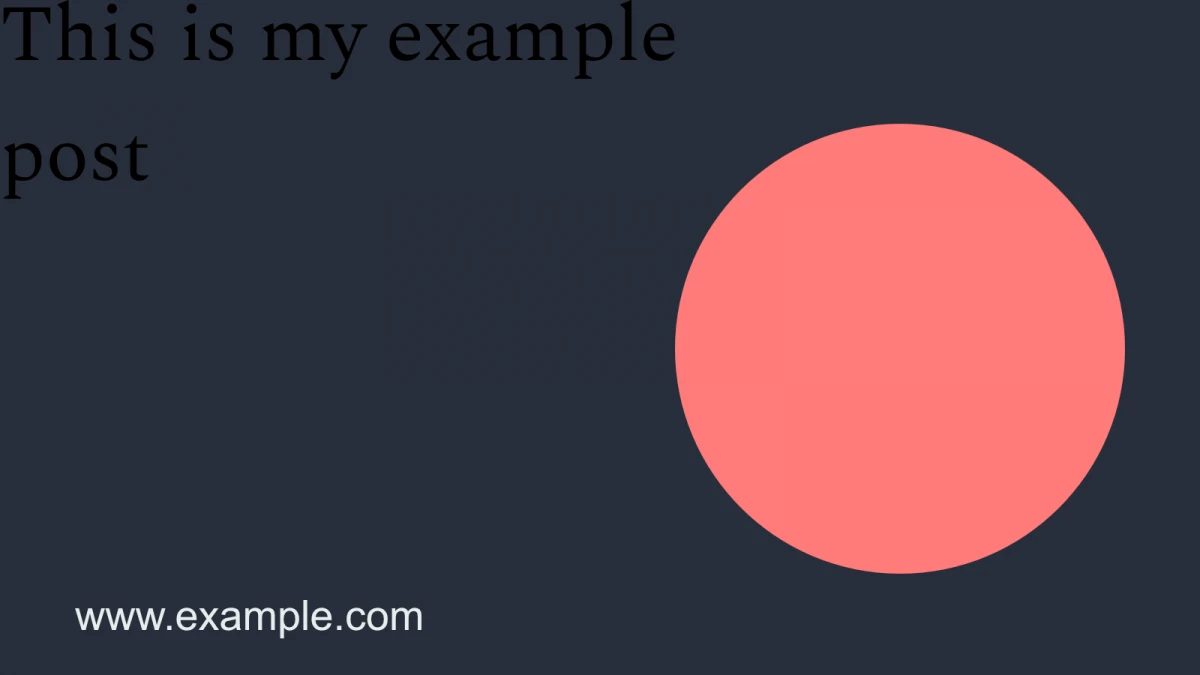
As you can see, the plugin used our template and inserted the title in the specified font. The transparent area is now filled with a color—we’ll fix that later.
First, let’s focus on the title. It’s too crammed into the top-left corner and is barely readable due to the color. We’ll now:
- Change the color
- Adjust the position
"font.color" => [255, 255, 255],
"title.position" => [70, 215],
We set the font color using font.color to an RGB value, in this case, white. The title position is set with title.position, where the array contains the X and Y values in pixels.
Reloading the image in the browser … nothing changes. The plugin doesn’t just display the image; it creates a file. This prevents the server from generating a new image every time someone views it, which could overwhelm the server if a link is shared widely.
To see the changes, delete the existing image first.
The filename depends on your Kirby configuration, especially if your site is multilingual. The pattern is generated-og-image.LANGUAGE.png. If no language is set, LANGUAGE defaults to default; otherwise, it uses the language code
After deletion and reloading, the new image looks like this:
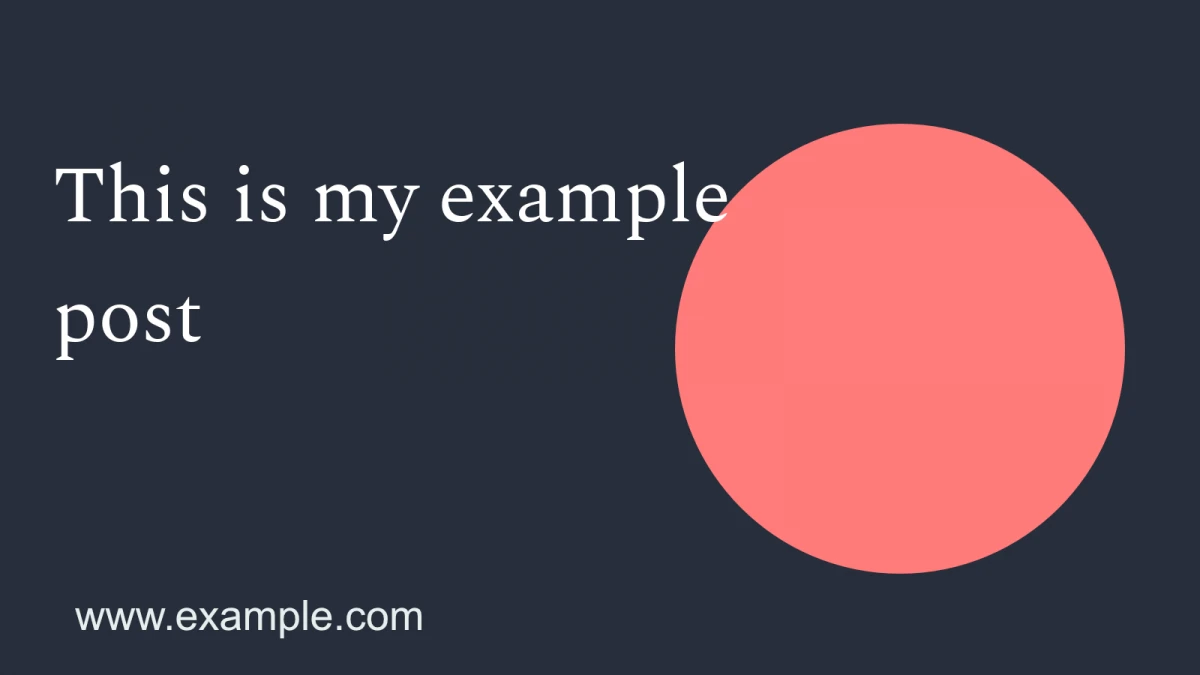
This looks better. The text is readable and no longer stuck in the corner. However, it extends into the colored area, and the line spacing feels too large. Let’s fix that:
"font.lineheight" => 1.5,
"title.charactersPerLine" => 16,
We set the line height with font.lineheight. With title.charactersPerLine, we define the maximum number of characters per line to prevent the text from spilling into the colored area.
These values depend heavily on your template and font. Experiment with a long title to find the best settings
Now the image looks like this:
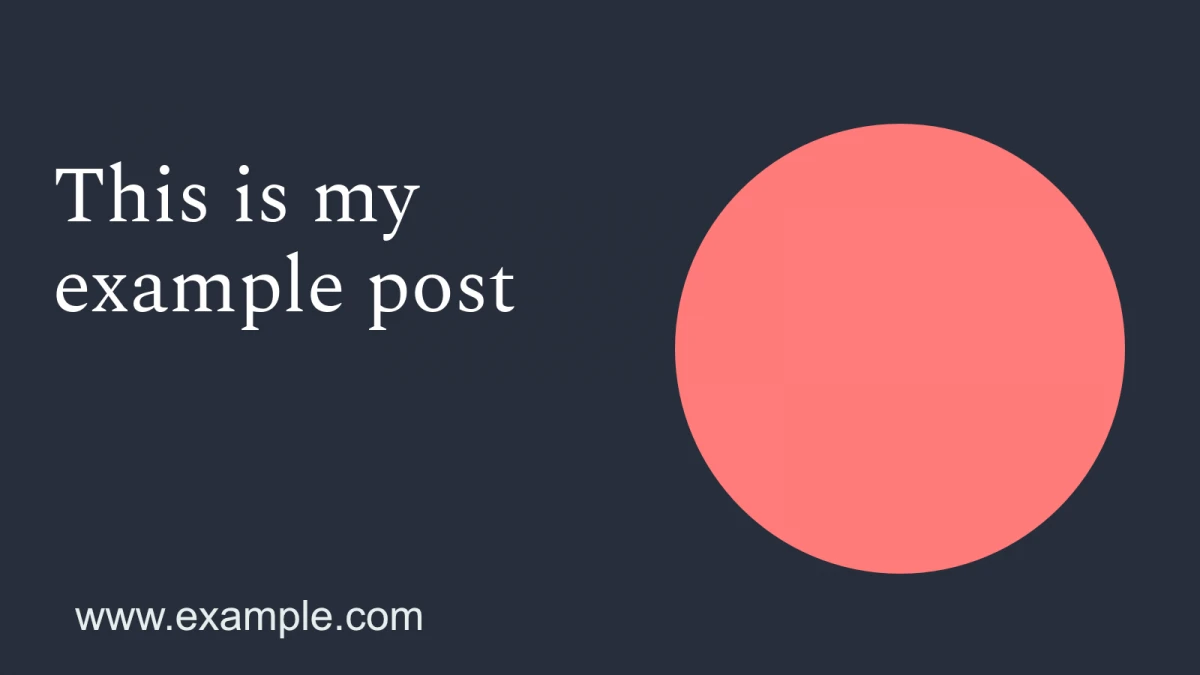
This is already much better. Now let’s tackle the three scenarios described earlier.
Three Variations
Pre-Made Graphics
If you already have a graphic to use when sharing, no new image needs to be created. The plugin can check for a custom OG image field. By default, it looks for a field named ogImage, but this can be changed in the configuration using the field option. In our case, we’ll keep the default and create the field in the panel:
ogImage:
    type: files
    label: OG Image
    layout: cards
    multiple: false
    image:
      cover: true
We configure the field as a file field that allows selecting only one image.
The plugin does the rest. When the OG image is requested, it checks the configured field. If an image exists, it’s used; if not, a new one is generated.
Embedding an Image
If a post image exists, it should be embedded into our OG image, which is why we created the transparent area on the right.
First, we tell the plugin where to find the post image. Then, we crop it to the appropriate size and position it:
"heroImage.field" => 'hero',
"heroImage.cropsize" => [610, 610],
"heroImage.position" => [900, 163],
Our circle is about 600 pixels, so we add some tolerance. The post image is in the hero field, cropped to 610x610 pixels. It’s positioned 900 pixels to the right and 163 pixels down.
Now set a post image and request the OG image:
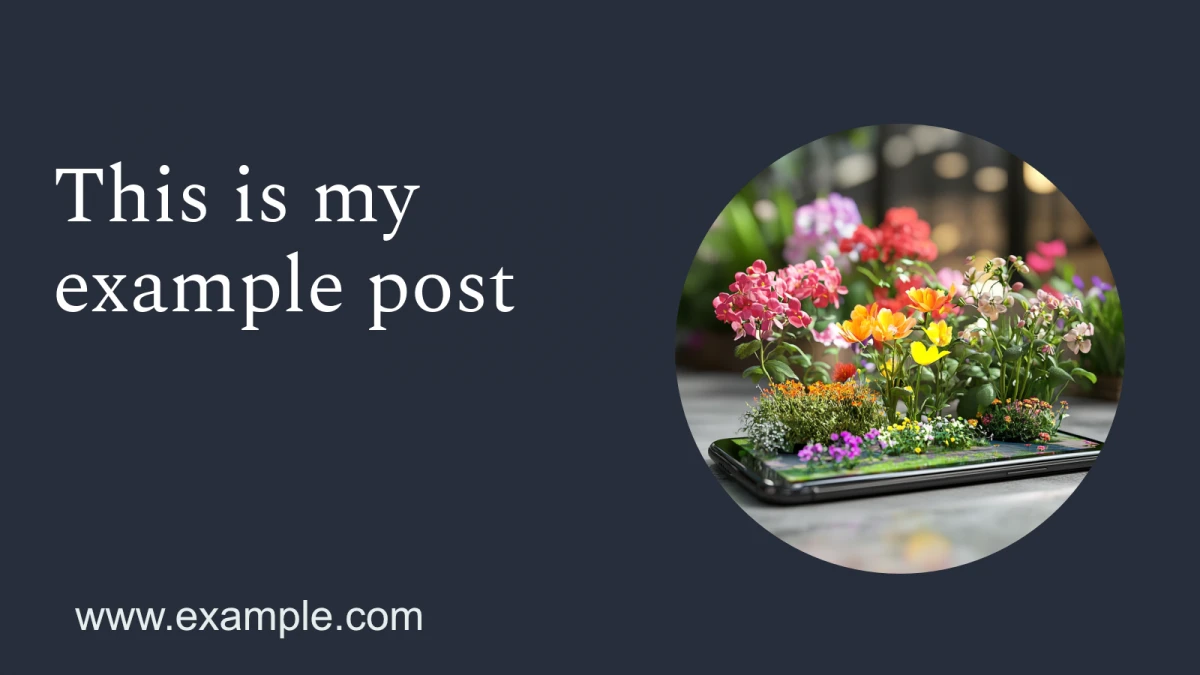
The plugin uses Kirby’s crop function. You can set a focal point in the panel to ensure the relevant part of the image is retained after cropping.
Filling the Circle
If no post image is available, the circle is currently filled with a color. We can change this color. In this variant, we’ll match the circle’s color to the template’s background, making it invisible:
"heroImage.fallbackColor" => [40, 46, 59],Set an RGB value matching the background. Now the OG image looks like this:

Simple but functional.
Displaying a Logo
This feels too plain for me, so I’d rather display a logo. Instead of using a fallback color, we can configure a fallback image.
I created a new image containing the logo in the appropriate position:

Place this file in the assets/og-image directory as fallback.png. Update the configuration:
"heroImage.fallbackImage" => "assets/og-image/fallback.png",Now the OG image looks like this:

This looks much better. You can further refine it by experimenting with font sizes and positions, but I’ll leave that to you.
To wrap up, here’s the complete configuration:
"mauricerenck.ogimage" => [
    "image.template" => "assets/og-image/template.png",

    "font.path" => "assets/spectral-regular-webfont.ttf",
    "font.color" => [255, 255, 255],
    "font.lineheight" => 1.5,

    "title.charactersPerLine" => 16,
    "title.position" => [70, 215],

    "heroImage.field" => 'hero',
    "heroImage.cropsize" => [610, 610],
    "heroImage.position" => [900, 163],
    "heroImage.fallbackColor" => [40, 46, 59],
    "heroImage.fallbackImage" => "assets/og-image/fallback.png",
],
We define the template, font path, color, and line height. We set the title position and line break rule. Then we configure the post image field, specify its crop and position, and set fallback options with a color or logo.
With this setup, every page will have an OG image, either manually defined in the panel or automatically generated with a fallback.
Enjoy experimenting!
Write a comment